.png)
July 28, 2025
Do you recognize this site?
Yes that's right.
This is the recipe site Marmiton.
I'm showing you this today for a simple reason.
In this article, I will give you THE recipe to create professional quality video tutorials in no time. Not in the Hollywood way, but more like Marmiton.
Isn't it said that a picture is worth a thousand words?
In your industry, you may be required to create videos to show complicated gestures in the simplest way.
And you are right!
It is a information vector powerful.
It's quick to do, effective, and easy to understand.
There is nothing more practical for your new learner (let's call him Michel for the example) to easily memorize a new gesture.
The difficulty is to master a minimum of filming techniques and means.
When you have the recipe, it's a piece of cake.
I'll talk to you about it later, but first I have a question for you:
Have you noticed that problems always come after filming your tutorial ?
It is always after filming that you notice a poorly framed image, a shot that does not show the right gesture, our operator Jean-Bernard who hides an essential gesture with his arm or worse, makes a regulatory or security violation.
All that's left to do is shoot again and everyone is wasting a lot of time.
It's frustrating.
In industry, Do a production tutorial is quite simple.
All you have to do is Picture a complex action so that our learner Michel can reproduce it without error.
On the other hand, the video tutorial applies to work instruction, under the GMP regulations in Pharma for example.
As such, it should be explicit, understandable, and accurate.
Now, let's see the 5 tips from pros right away so that your teams are shooting tutorials quickly and effortlessly.
Technological advancements offer numerous options for shooting professional quality videos.
However, we only selected one: the GoPro. Why?
Because it is a camera :
In addition, it benefits from a variety of accessories that allow it to be used in all situations, even the most extreme ones.
But be careful!
Don't pick just any one.
We chose the GoPro 9 (as long as it is on the market).
The reason is simple: it is cheaper than the 10 (about 30% less).
The idea is to never invest in the latest model, but in the previous one.
So you are always sure to have at hand a camera that has already proven itself and that will not have any software bugs.
But that is not all.
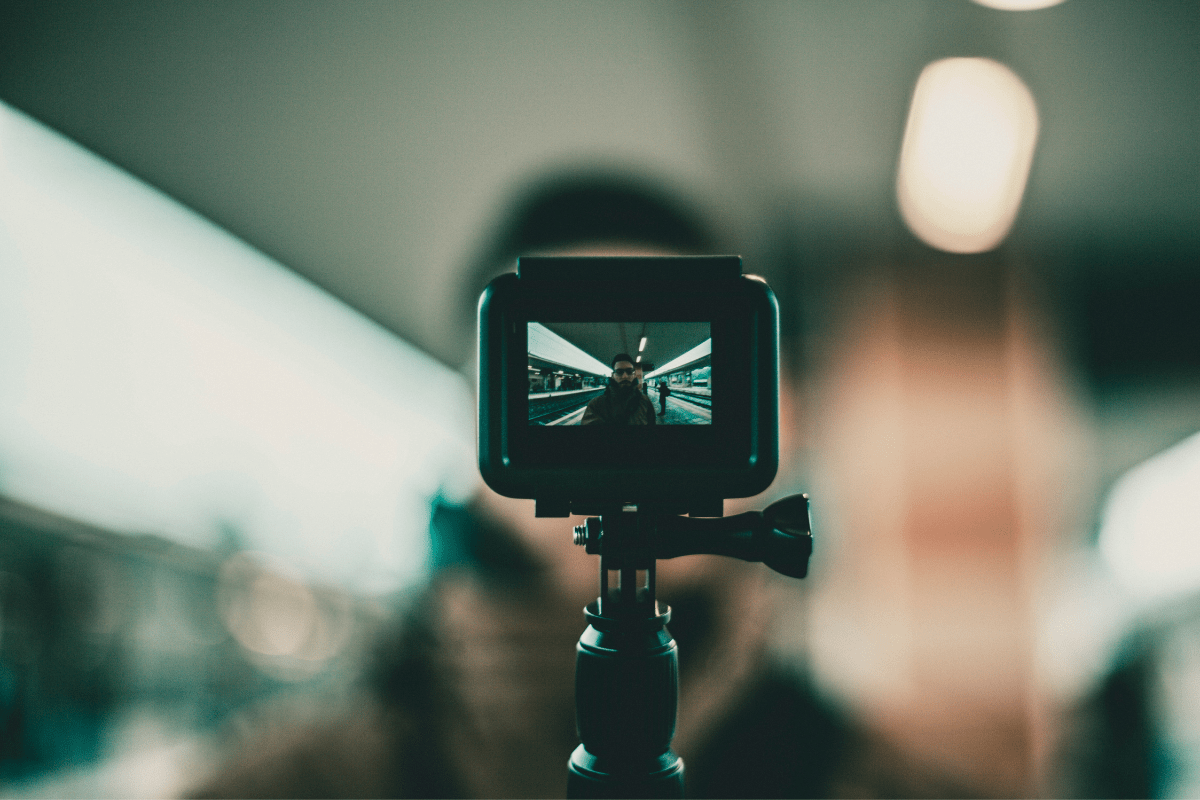
The GoPro 9 has a front screen that allows you to frame the image correctly.
It's interesting when you decide to Filming a gesture which is only performed once every two months and there is no room for error.
The only downside is that the GoPro 9 generates files in HEVC format, which is a new high-resolution format. For your computer to be able to read your files, you will need to install the H265 codec. Nothing complicated, but it's still good to know. Your IT manager will know how to do this Windows update like a chef.
For all intents and purposes, I am giving you a link to download it: Codecs.com | Downloads for HEVC Video Extension 2.0.51121
You can also find the content of this article on our YouTube channel, and subscribe 👍!
You are not Spielberg.
Your one and only goal is to make an effective tutorial in the style of Marmiton.
After numerous tests, I recommend the following settings for your GoPro :
This is more than enough to guarantee you quality images while maintaining a reasonable file size. So the transfer times and the required storage space remain correct.
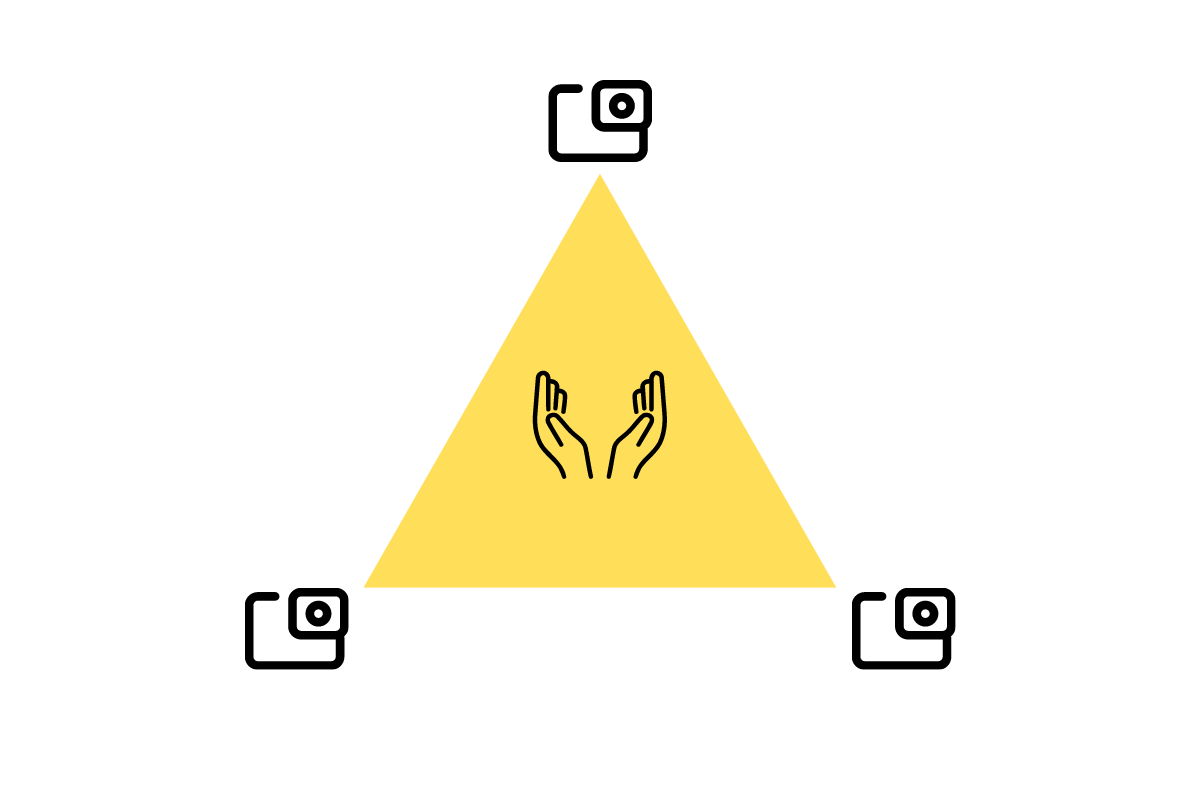
Ideally, you should shoot with three cameras arranged in a triangle. This is the best way to always have an exploitable angle of view despite a parasitic gesture that would hide the action in progress.
Don't succumb to the temptation to hang a camera on the operator.
It's the best way to make Michel nauseous.
And that... we've already tested it.
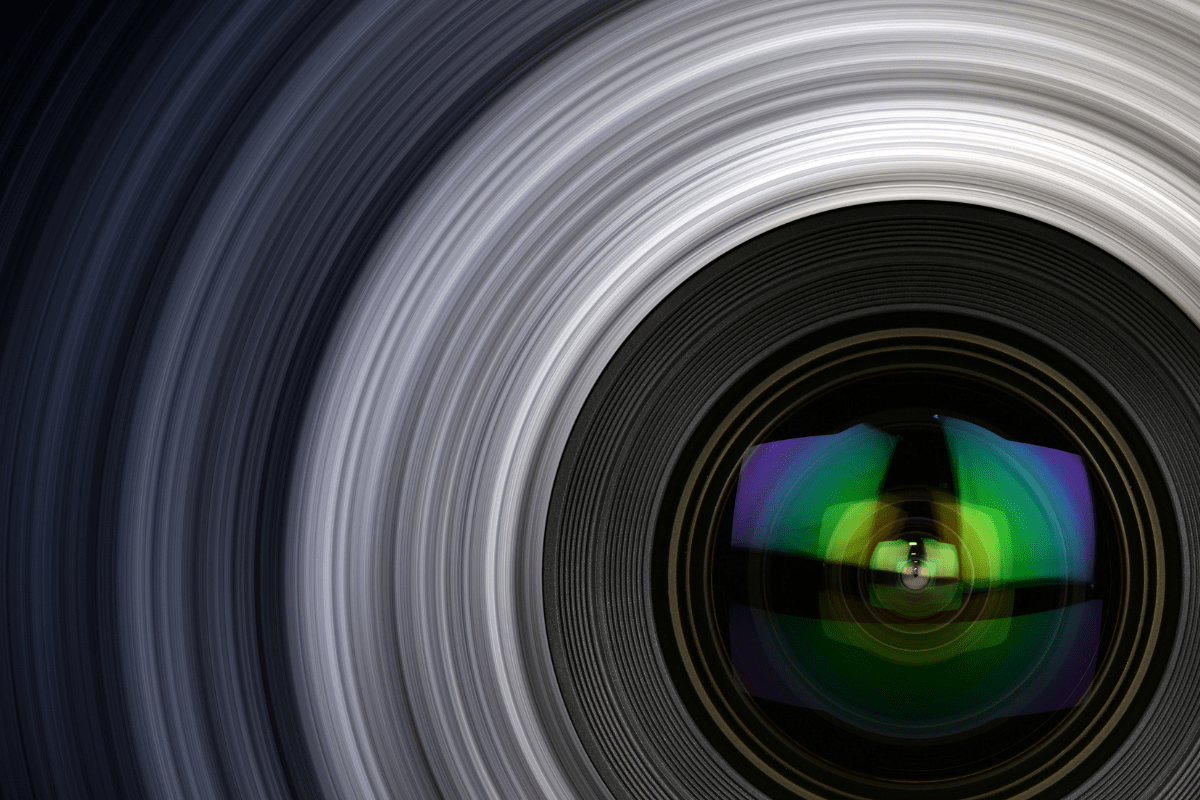
This is where the magic of GoPro hits the mark.
Filming in “wide” or “wide” mode allows you to get a wide view of the scene without excessively distorting the image.
Your operator's hands never leave the field and Michel will never miss anything.
I see you coming.
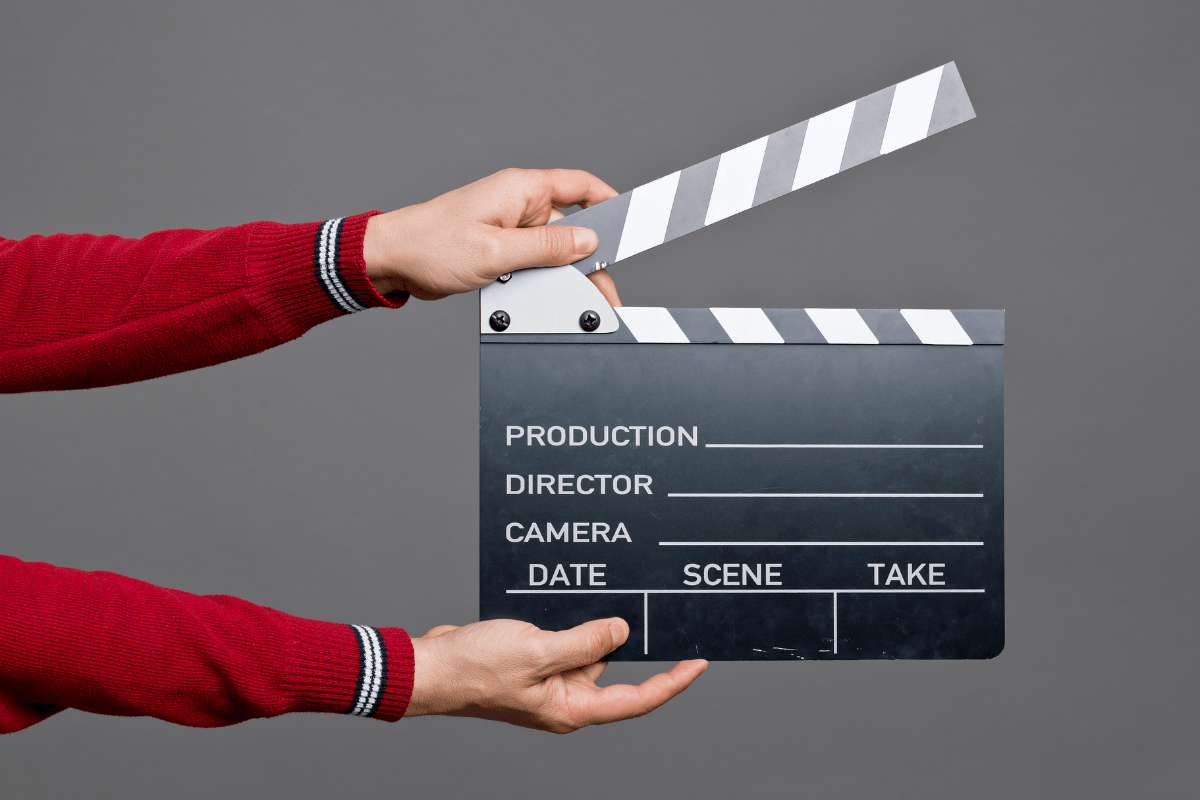
You will tell me: now that we have our three videos, taken with three different cameras, it will be complicated to synchronize all this.
This is where our friend Spielberg comes to our rescue.
When you have activated your three cameras, do a “CLAP” with your hands.
Yes, yes like the pros.
This “clap” will allow you to create a clearly visible sound peak on the soundtrack. This peak on all three bands will allow you to synchronize your images perfectly during editing.
Now you have all the basics for create professional quality video tutorials.
If you want to know more about:
I invite you to join our FREE training by clicking here: https://www.sinfony.eu/enfin-les-methodes-de-simplification-docs-et-training-de-sinfony-a-votre-portee/
Then, go directly to the chapters on the Shooting the tutorials.
See you soon
Des formations conçues par des experts métier, régulièrement mises à jour pour coller aux exigences terrain. Découvrez nos modules les plus suivis et les mieux notés par les professionnels.

Formation complète sur les Bonnes Pratiques de Fabrication (BPF) adaptée à votre profil professionnel dans l'industrie pharmaceutique et vétérinaire.

Maîtriser les techniques et les procédures essentielles.

Les procédures essentielles d'hygiène et de sécurité pour le personnel...